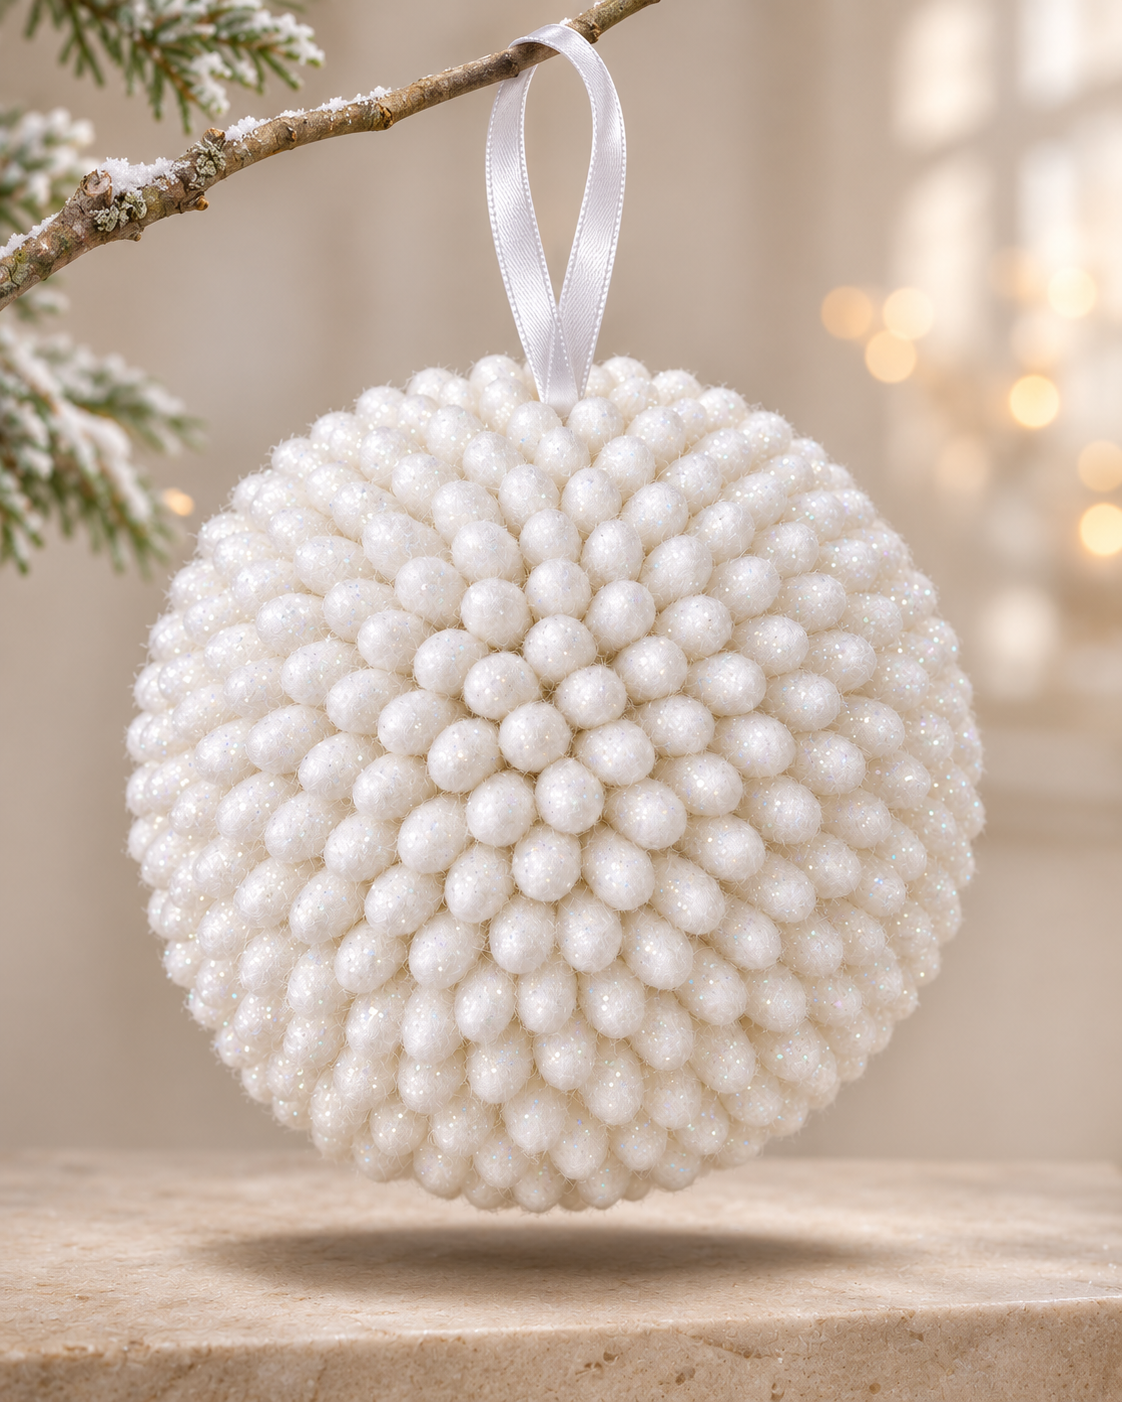
DIY Sparkle Snowball: Easy Cotton Bud Home Décor
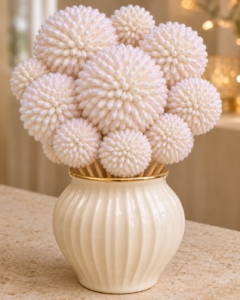
Turn simple cotton buds and a foam ball into a sparkling decoration that adds a soft, elegant touch to your home. This DIY Sparkle Snowball features closely arranged white cotton tips, a light dusting of glitter, and a satin ribbon for a pretty finishing touch.
Display your finished snowball in a decorative bowl, place it on a shelf, or hang it from a sturdy branch. Its white finish works beautifully with cozy neutral interiors, winter decorations, and festive table arrangements.
The project uses a few basic supplies, but covering the ball takes patience. Work in small sections to keep the spacing even and create a neatly rounded finish.
Preparation Time: 10–15 minutes
Crafting Time: Approximately 60–90 minutes
Drying Time: Follow the adhesive manufacturer’s instructions
Makes: 1 decorative snowball
Skill Level: Beginner-friendly
Materials You’ll Need
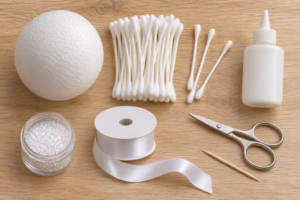
For the Cotton Bud Ball
- 1 white craft foam ball, approximately 3–4 inches across
- Approximately 200–300 double-ended cotton buds; the amount depends on the ball size and spacing
- Foam-safe craft glue that dries clear
- Sharp craft scissors
- A wooden skewer or toothpick for making small starter holes
For the Sparkling Finish
- Fine white or iridescent craft glitter
- A small amount of foam-safe, clear-drying craft adhesive
- A small soft paintbrush
- A tray or sheet of paper to catch loose glitter
For Hanging or Displaying
- White satin ribbon
- A small paper clip or floral pin
- A shallow decorative bowl or wide-mouth vase, optional
Why You’ll Love This DIY Decoration
The materials are simple, and you can adjust the size to suit your space. Make one large snowball for a centerpiece or several smaller ones for a decorative arrangement.
The cotton tips create a soft, textured surface, while fine glitter adds a gentle sparkle. A satin ribbon gives the ball a finished look and provides a hanging loop if you want to suspend it.
You can also leave off the glitter for a simpler matte white decoration.
Step-by-Step Instructions
1. Prepare Your Work Area
Cover your table with paper or a craft mat. Place a tray nearby to collect cut stems and loose glitter.
Keep your supplies within reach, and leave a clear area where the finished ball can dry without being disturbed.
2. Cut the Cotton Buds
Cut each cotton bud in half so that every piece has one cotton tip and a short stem. Each double-ended bud will give you two usable pieces.
Keep the stems roughly the same length. You need enough stem to push securely into the foam while leaving the cotton tip exposed.
Cut a small batch first and test the length before preparing the remaining buds.
3. Attach the Ribbon Loop
If you plan to hang your snowball, attach the ribbon before covering the foam.
Tie the ribbon into a loop with a secure knot. Use a floral pin or a bent paper clip to anchor the knotted end into the foam, adding foam-safe glue around the anchor.
Allow the glue to set before continuing. The attachment needs to support the completed decoration, so check it carefully before hanging.
For a bowl display, you can skip the loop or keep it as a decorative detail.
4. Insert the First Cotton Tips
Start near the ribbon attachment or at the top of the sphere.
Make a small starter hole with a toothpick if needed. Dip the cut end of a cotton bud stem into a little glue, then gently push it into the foam.
Insert several pieces around this starting point. Keep the cotton tips close together without crushing them.
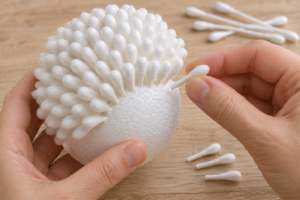
5. Cover the Foam Ball
Continue working around the ball in small sections. Point each stem toward the center of the sphere so the exposed tips follow its rounded shape.
Aim for consistent insertion depth. If some tips stick out too far, gently adjust them while the glue is still workable.
Turn the ball carefully as you work, holding an uncovered section whenever possible. Fill visible gaps with extra cotton tips.
The amount of cotton buds you need will vary. Use the coverage of your own ball as your guide rather than trying to reach an exact number.
6. Add the Glitter
Once the cotton tips are secure and the glue has dried, use a soft brush to dab a very thin layer of clear-drying adhesive over the outer tips.
Avoid soaking the cotton, which can flatten its texture.
Hold the ball over a tray and sprinkle on fine glitter. Rotate it gently to cover the surface evenly. A light coating will give you sparkle while keeping the cotton detail visible.
7. Allow It to Dry
Rest the ball on a clean support or suspend it securely while it dries. Follow the drying time listed on your glue.
Once fully dry, gently tap off excess glitter over the tray. Check for loose cotton tips and secure any that need extra adhesive.
How to Style Your DIY Sparkle Snowball
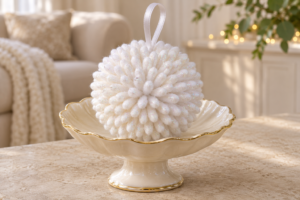
For the look shown in the collage, place your finished ball in a shallow cream or champagne-colored decorative bowl. Choose a bowl wide enough to support it without squeezing the cotton tips.
Set the arrangement on an entryway console, coffee table, or sideboard. A simple background helps the textured surface stand out.
You can also hang the ball from a sturdy decorative branch using its ribbon loop. Check that both the branch and ribbon attachment can support its weight.
For a larger display, group three snowballs of different sizes on a tray with battery-operated LED candles.
Tips and Notes
- Test your glue first. Some adhesives can damage craft foam, so choose a foam-safe product.
- Keep the stems consistent. Similar lengths make it easier to create an even surface.
- Work with small amounts of glue. Excess adhesive can leave visible patches or stiffen the cotton.
- Choose fine glitter. It gives a softer finish than chunky glitter.
- Handle gently. Lift the finished ball from underneath instead of pulling on the cotton tips.
- Keep away from flames and heat. Cotton, ribbon, and foam should be displayed away from real candles, fireplaces, and heaters.
- Supervise children. Adults should handle cutting and sharp tools, and small pieces should stay away from young children and pets.
Easy Variations
Matte White Snowball: Skip the glitter and let the cotton texture provide the detail.
Pearl Accent Snowball: Add a few lightweight flat-back faux pearls between selected cotton tips using a suitable adhesive.
Champagne Ribbon Finish: Replace the white ribbon with a soft champagne or pale gold ribbon.
Mini Snowball Collection: Use smaller foam balls to create a coordinated bowl arrangement. Shorten the stems as needed to suit the smaller spheres.
Frequently Asked Questions
Do I need exactly 300 cotton buds?
No. The quantity depends on the foam ball’s size, the cotton tips, and how closely you arrange them. Since each double-ended cotton bud produces two pieces, count your cut tips separately from whole buds.
Can I make it without glitter?
Yes. The plain white version still has an attractive textured finish and suits everyday neutral décor.
Can I use hot glue?
Low-temperature hot glue may work if it is suitable for your foam, but test it on a spare piece first. High heat can damage the foam. Foam-safe craft glue gives you more time to adjust placement.
Is this suitable for outdoor decoration?
It is best displayed indoors in a dry area. Moisture can affect the cotton, adhesive, and foam.
Storage and Care
Store your snowball in a rigid box with enough room to prevent the cotton tips from being compressed. Cushion the base lightly with tissue paper and avoid placing heavy decorations on top.
Keep it away from moisture and direct heat. To remove dust, use a clean, soft brush with gentle strokes. Avoid water or cleaning sprays.
With careful handling, your DIY Sparkle Snowball can become a reusable decoration for seasonal displays and cozy corners around your home.
1 thought on “DIY Sparkle Snowball”