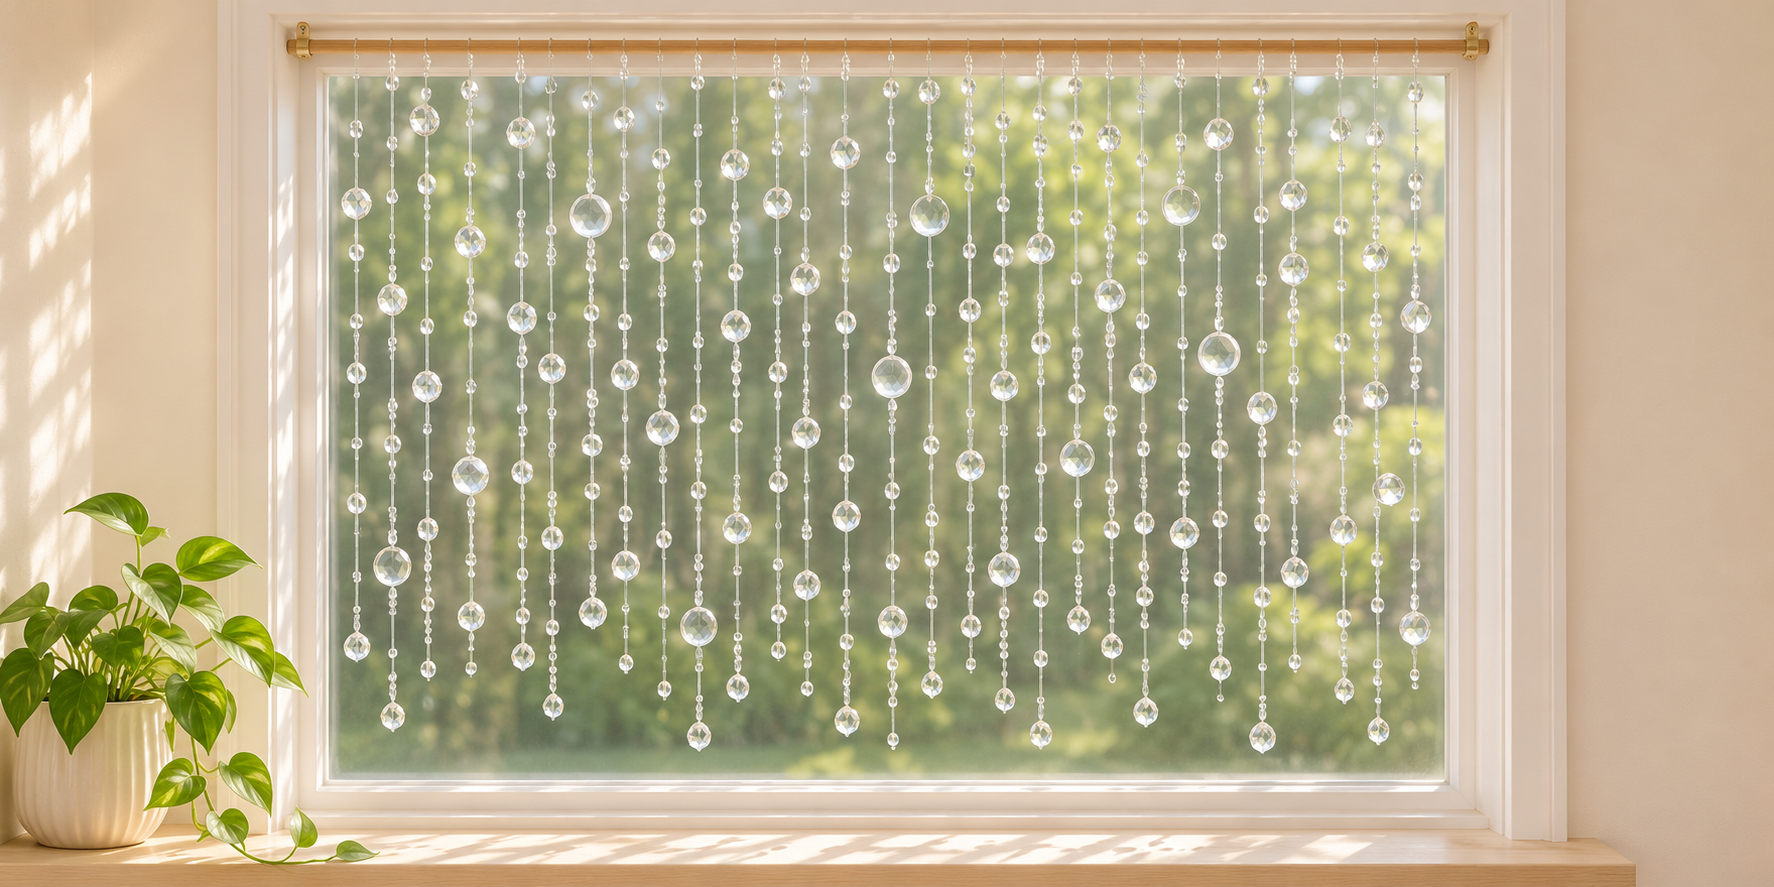
DIY Hot Glue Curtain: Make a Sparkling Window Decoration on a Budget
Make a beautiful DIY hot glue curtain using clear glue sticks, fishing line, and a light sprinkle of iridescent glitter. This creative project turns small handmade glue drops into a decorative hanging curtain that catches the light beside a window.
The finished drops have a smooth, rounded appearance, rather like little droplets of water. A touch of glitter adds shimmer, while transparent fishing line helps the pieces appear suspended in the air.
You do not need ready-made beads or crystal pendants for this project. Instead, you create each decorative piece yourself, choosing different sizes and arranging them along hanging strands for a soft, snowfall-inspired effect.
Why You’ll Love This DIY Hot Glue Curtain
This craft gives everyday supplies a decorative purpose. The irregular glue drops make each strand slightly different, adding to the handmade appearance.
You can make a short window decoration, create a narrow sparkling panel, or prepare a wider curtain for a seasonal display. Varying the lengths helps produce a relaxed, layered finish.
The project also allows you to control the amount of sparkle. Use a very light dusting of glitter for a subtle shimmer, or add slightly more to selected drops for contrast.
Project size: Adjustable to your window
Difficulty: Beginner-friendly, with careful hot-glue handling
Time needed: Allow a few hours for making, cooling, and assembling multiple batches
Use: Indoor decorative display
Materials Required
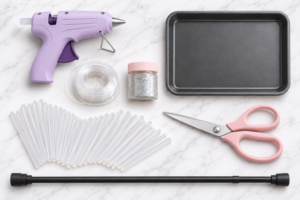
- 1 dollar store metal baking sheet, approximately 9 × 13 inches, reserved for crafts
- Approximately 30 clear full-size hot glue sticks, with the final amount depending on your curtain size
- 1 spool of clear monofilament fishing line, 50–100 yards
- Up to ¼ cup iridescent glitter; apply sparingly
- 1 tension rod or lightweight curtain rod, approximately 24–48 inches wide
- 1 full-size hot glue gun compatible with your glue sticks
- 1 pair of scissors
Helpful optional supplies: A heat-resistant silicone craft mat for easier release, a ruler, and a protective covering for your work surface.
Before starting: Make a few test dots on your baking sheet. Release depends on the surface and glue formulation. If the cooled dots stick firmly, use a silicone craft mat instead of forcing them off or scratching the tray.
Step-by-Step Instructions
1. Prepare Your Work Area
Place the baking sheet on a flat, protected surface. Set the glue gun on its stand and follow its heating instructions.
Arrange your glue sticks and glitter within easy reach. Keep the fishing line away from the hot nozzle while making the drops.
Work in a ventilated area and keep children and pets away from the hot-glue station.
2. Make Round Hot-Glue Dots
Hold the nozzle just above your prepared surface and squeeze out a small puddle of glue. Stop squeezing, then lift the nozzle carefully.
Make dots in mixed sizes, approximately ¼ inch to 1 inch wide. Leave enough space between them so they remain separate.
Aim for smooth, rounded puddles rather than tall piles. Small differences in shape will give the finished DIY hot glue curtain a natural handmade look.
3. Add a Light Sprinkle of Glitter
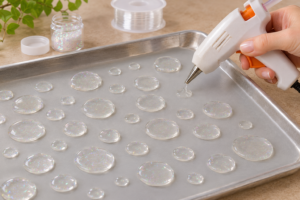
Work in small sections. While the surface of the fresh dots is still tacky, sprinkle a tiny amount of iridescent glitter over them.
Keep the coating light so the glue remains translucent. Too much glitter can hide the clear finish and create more loose glitter during assembly.
Do not touch or press the warm dots with your fingers.
4. Let the Dots Cool Completely
Leave the dots undisturbed until fully cool and firm. Allow approximately 10–15 minutes for an initial batch, with extra time for larger or thicker pieces.
Once cool, gently lift an edge and peel each dot away. If it resists, avoid using your fingernail to force it off. Switch to a silicone craft mat for the next batch.
Remove fine glue strings and set the finished pieces aside.
5. Plan the Curtain Before Making More
Start with approximately 80–120 dots, then lay out a few sample strands to check the coverage.
A wide, dense curtain may need considerably more. For example, 24 strands with eight dots on each require 192 dots.
Check your planned width, strand count, and spacing before using the remaining glue sticks. Make additional batches as needed.
6. Cut the Fishing-Line Strands
Cut strands in varied lengths, with most finished hanging sections approximately 24–48 inches long.
Leave extra line at the top for tying onto the rod. Arrange the cut pieces flat on your table so they do not become tangled.
For a gentle cascading shape, make the center strands longer and gradually shorten those toward the sides.
7. Secure the Glue Dots to the Line
Lay one strand flat and arrange cooled dots beside it, leaving approximately 3–6 inches between pieces.
A simple loop around a smooth dot may slip off. For a more secure attachment, tie a small stopper knot in the fishing line at each planned position.
Place a cooled dot glitter-side down on the silicone mat. Position the knotted line across its back and cover the knot with a small dab of hot glue. Let it cool completely before lifting.
Keep your fingers clear of the fresh glue. Test the first finished attachment with a gentle tug before assembling all the strands.
8. Build the Remaining Strands
Repeat the attachment process, mixing larger and smaller drops.
Avoid placing every large dot at the same height. Staggering the sizes and positions creates a softer, more varied arrangement.
Keep completed strands separate and flat until every attachment has cooled.
9. Tie the Strands Onto the Rod
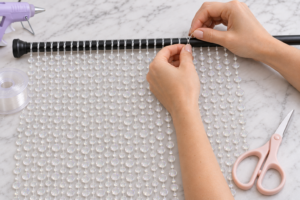
Secure each strand to the rod with a double knot.
For dense coverage, begin with approximately one strand every 1–1½ inches. Adjust the spacing to suit your available dots and the weight your rod can support.
Check the rod’s instructions and load limit before hanging the completed decoration.
10. Hang and Adjust Your Curtain
Install the rod securely and gently separate the strands.
Trim excess line beneath the knots and adjust the arrangement until the drops hang freely. Step back to check the overall shape and redistribute any crowded sections.
Your DIY hot glue curtain is ready to display.
Tips for a Beautiful Finish
- Test one complete strand first. Check release, glitter coverage, and attachment strength before making the full curtain.
- Use clear-drying glue sticks. Glue formulas vary, and some appear milkier than others.
- Keep glitter light. A small amount preserves the translucent droplet effect.
- Mix sizes thoughtfully. Smaller dots between larger ones create visual variety.
- Choose gentle light. Bright, indirect daylight can show the shimmer without prolonged intense heat.
- Avoid hot locations. Keep the curtain away from heaters, flames, and surfaces that become very hot.
- Hang it out of reach. Long fishing-line strands and small detachable pieces are unsuitable around young children and pets.
Easy Decorating Variations
Snowfall-Inspired Curtain
Use mostly small clear dots with occasional larger pieces and a very light dusting of silver-white glitter.
Soft Rainbow Shimmer
Choose iridescent glitter that reflects subtle pastel colors. Keep the application thin so the drops remain translucent.
Short Decorative Valance
Make shorter strands to decorate the upper portion of a window. This uses fewer materials and leaves more of the view open.
Cleaning and Storage
Dust the curtain gently with a soft, dry cloth. Avoid pulling individual drops or using harsh cleaning products.
For storage, lay the strands between sheets of tissue paper or wrap them separately around pieces of cardboard. Keep them in a cool place with nothing heavy pressing against the glue drops.
Inspect the knots and attachments before hanging the curtain again.
Frequently Asked Questions
Does this project need ready-made beads?
No. The decorative drops are made from clear hot glue and a light sprinkle of glitter.
Will the drops look like faceted crystals?
No. Hot glue forms smooth, rounded drops. Glitter adds shimmer, but it does not create cut-crystal facets.
Can I make the dots directly on a metal baking sheet?
Test a few first. Some surfaces release cooled glue more easily than others. A heat-resistant silicone craft mat is a useful alternative if the dots stick.
Are 80–120 dots enough for a full curtain?
They may suit a small or lightly filled panel. A wider curtain with closely spaced strands can require many more. Multiply your strand count by the number of dots per strand to estimate the total.
Why are the dots slipping off the fishing line?
A tight loop can slide around a smooth drop. Embedding a stopper knot in a small glue dab on the back provides a more secure attachment.
Can I hang it outdoors?
This version is best treated as an indoor decoration. Outdoor heat, wind, and weather can affect the glue, strands, and mounting.